 Mobile Bottom Fast Navigation Bar Documentation
Installation – top
Uploading
- Download the add-on
- Go to Admin panel > Add-ons > Manage Add-ons
- Click on [+] to open upload modal window
- Please choose whatever is comfortable to you:
– Local: zip archive is saved on your computer
– Server: zip archive is uploaded on your server
– URL: you have a direct link to the zip archive - After you selected the zip archive corresponding to your current version of CS-Cart please click Upload & install
Activation
- Open add-on settings page Admin panel > Add-ons > Manage Add-ons >
[TH] Mobile Bottom Fast Navigation Bar - In Activation tab insert License key
- Save the settings and go back to Manage Add-ons page
- In same line with the name of the add-on, click Active
- Clear cache, choose Administration > Storage > Clear cache
Make sure that the add-on status is Active
That’s all, the add-on is installed
Settings – top
To change add-on settings: Go to Admin panel > Add-ons > Manage Add-ons
Press [gear] and choose Global Settings
General Settings
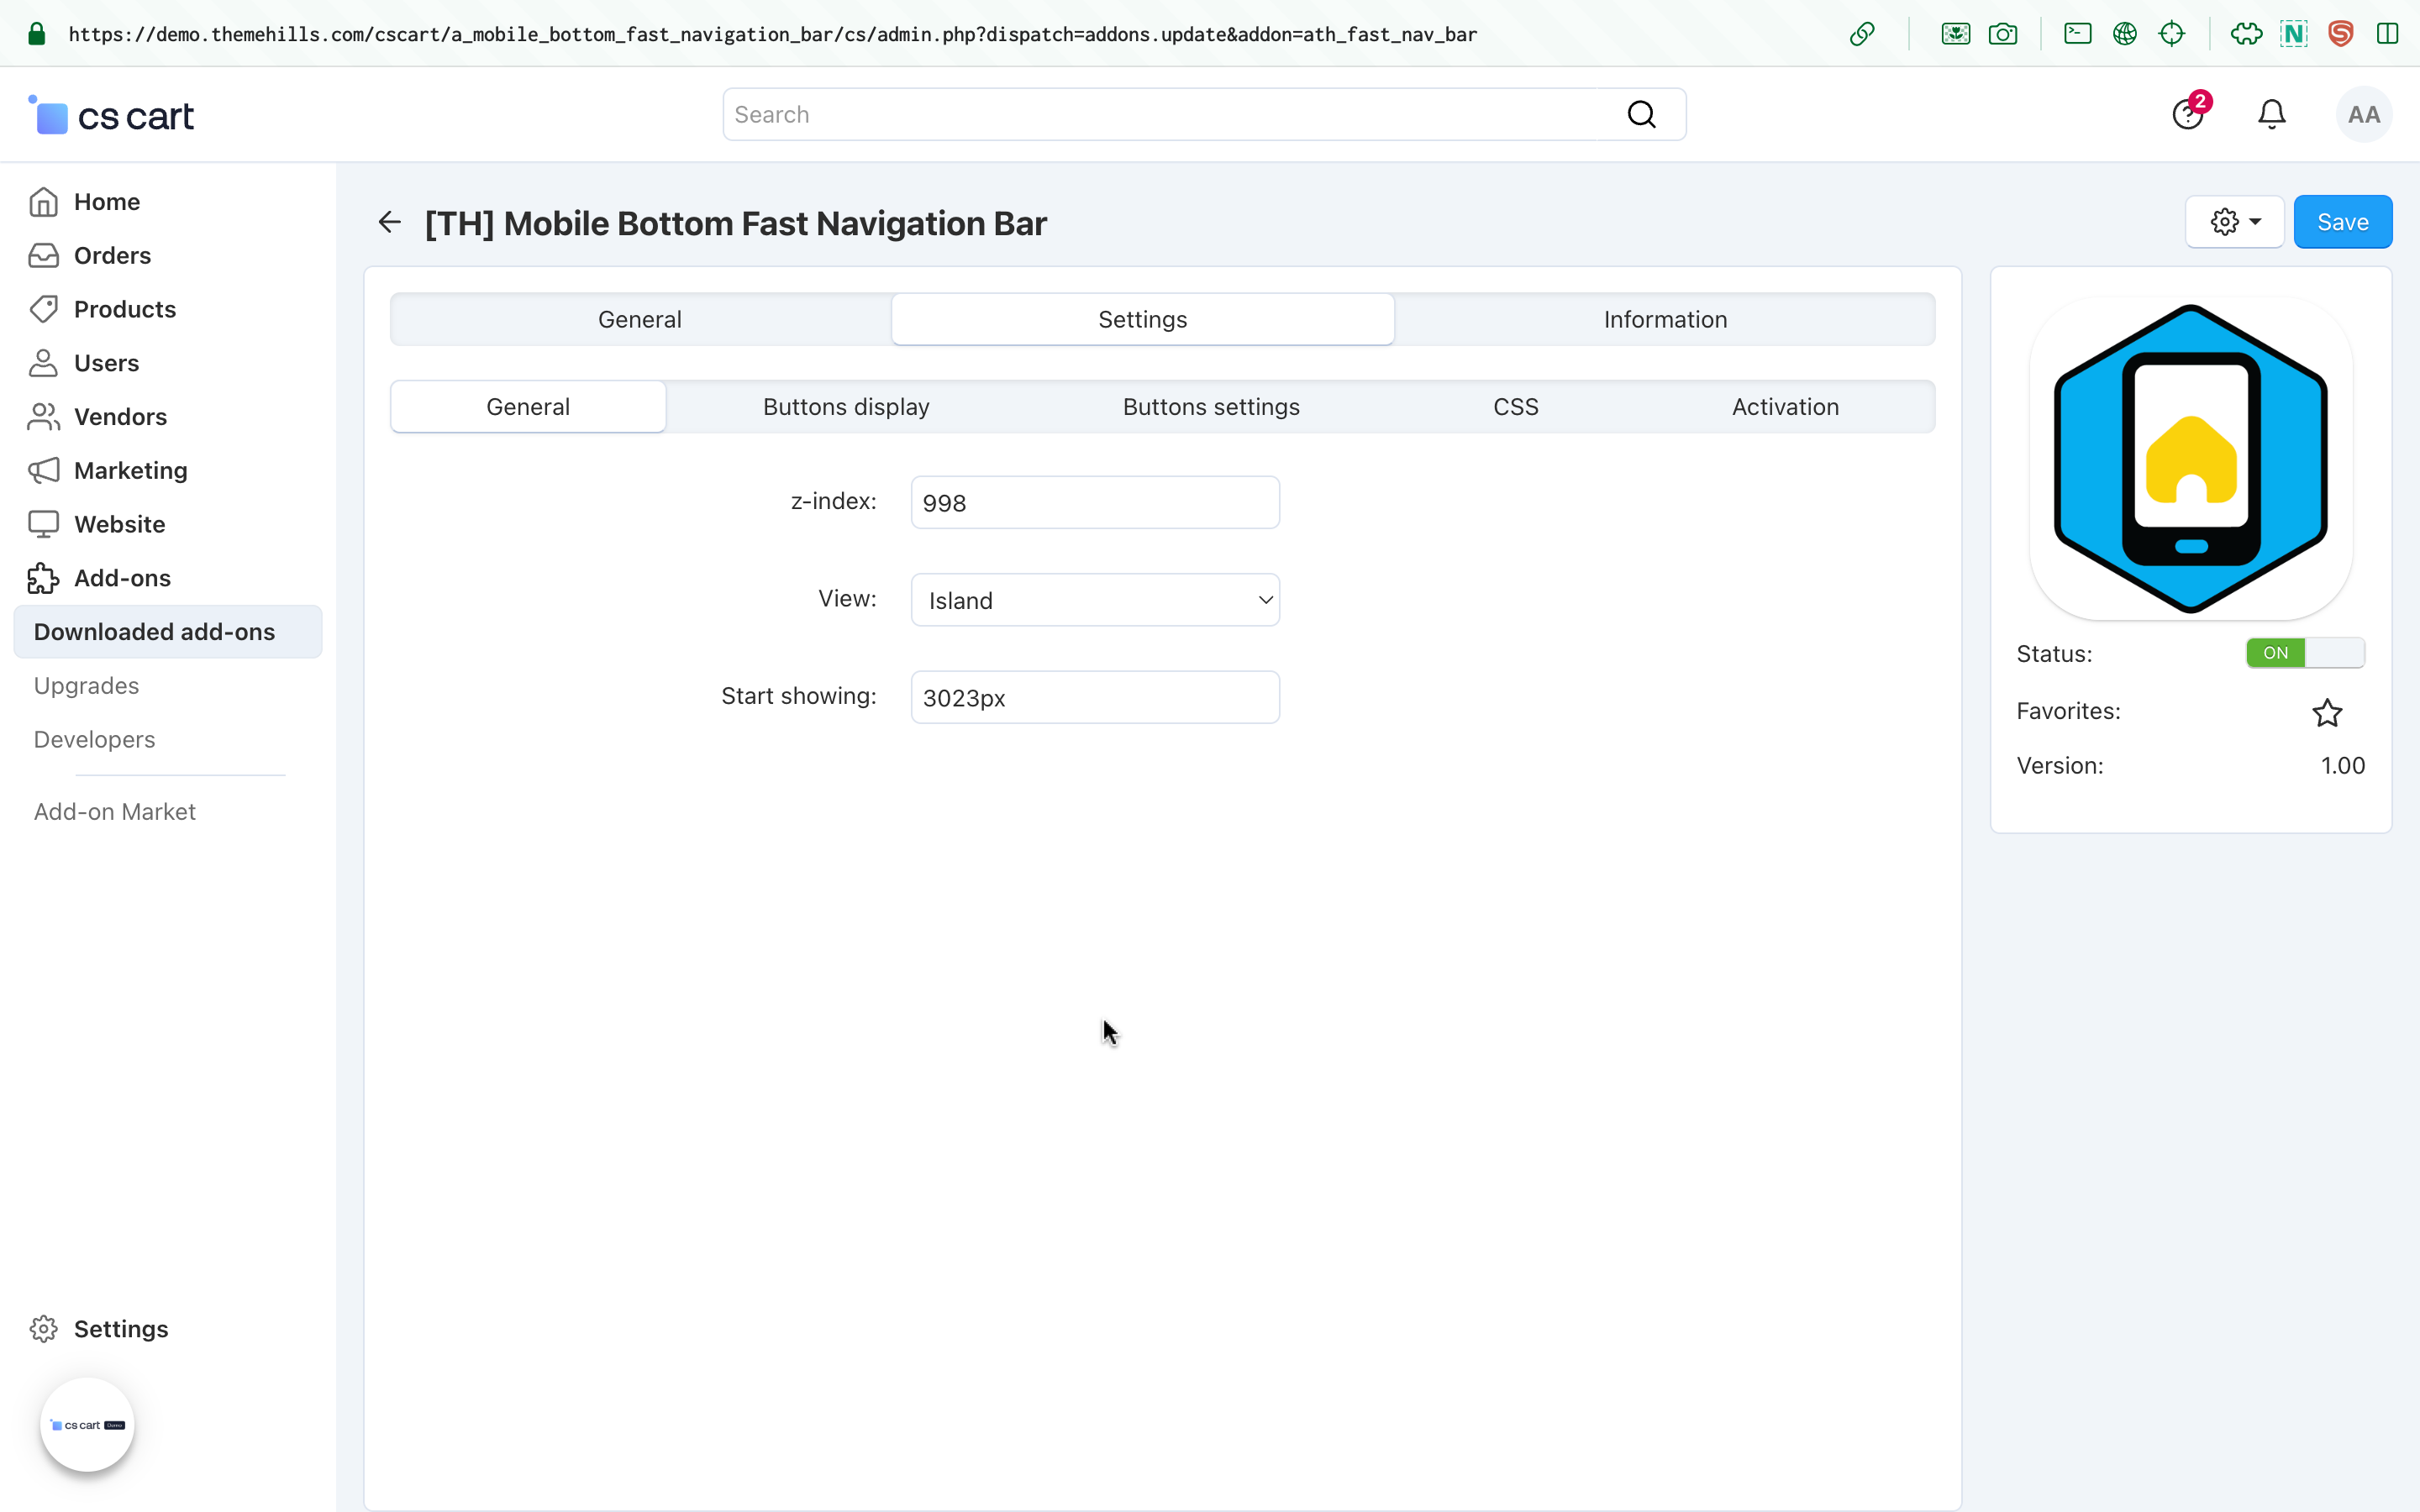
- Z-Index: Adjust the layer of the navigation bar relative to other elements on the website. Higher values bring the bar to the top.
- View: Select the style of the navigation bar:
- Island: Displays the bar with rounded edges.
- Full-width: The bar spans the entire width of the screen.
- Start Showing: Define the minimum screen width (in pixels) for the navigation bar to appear.
Buttons Display
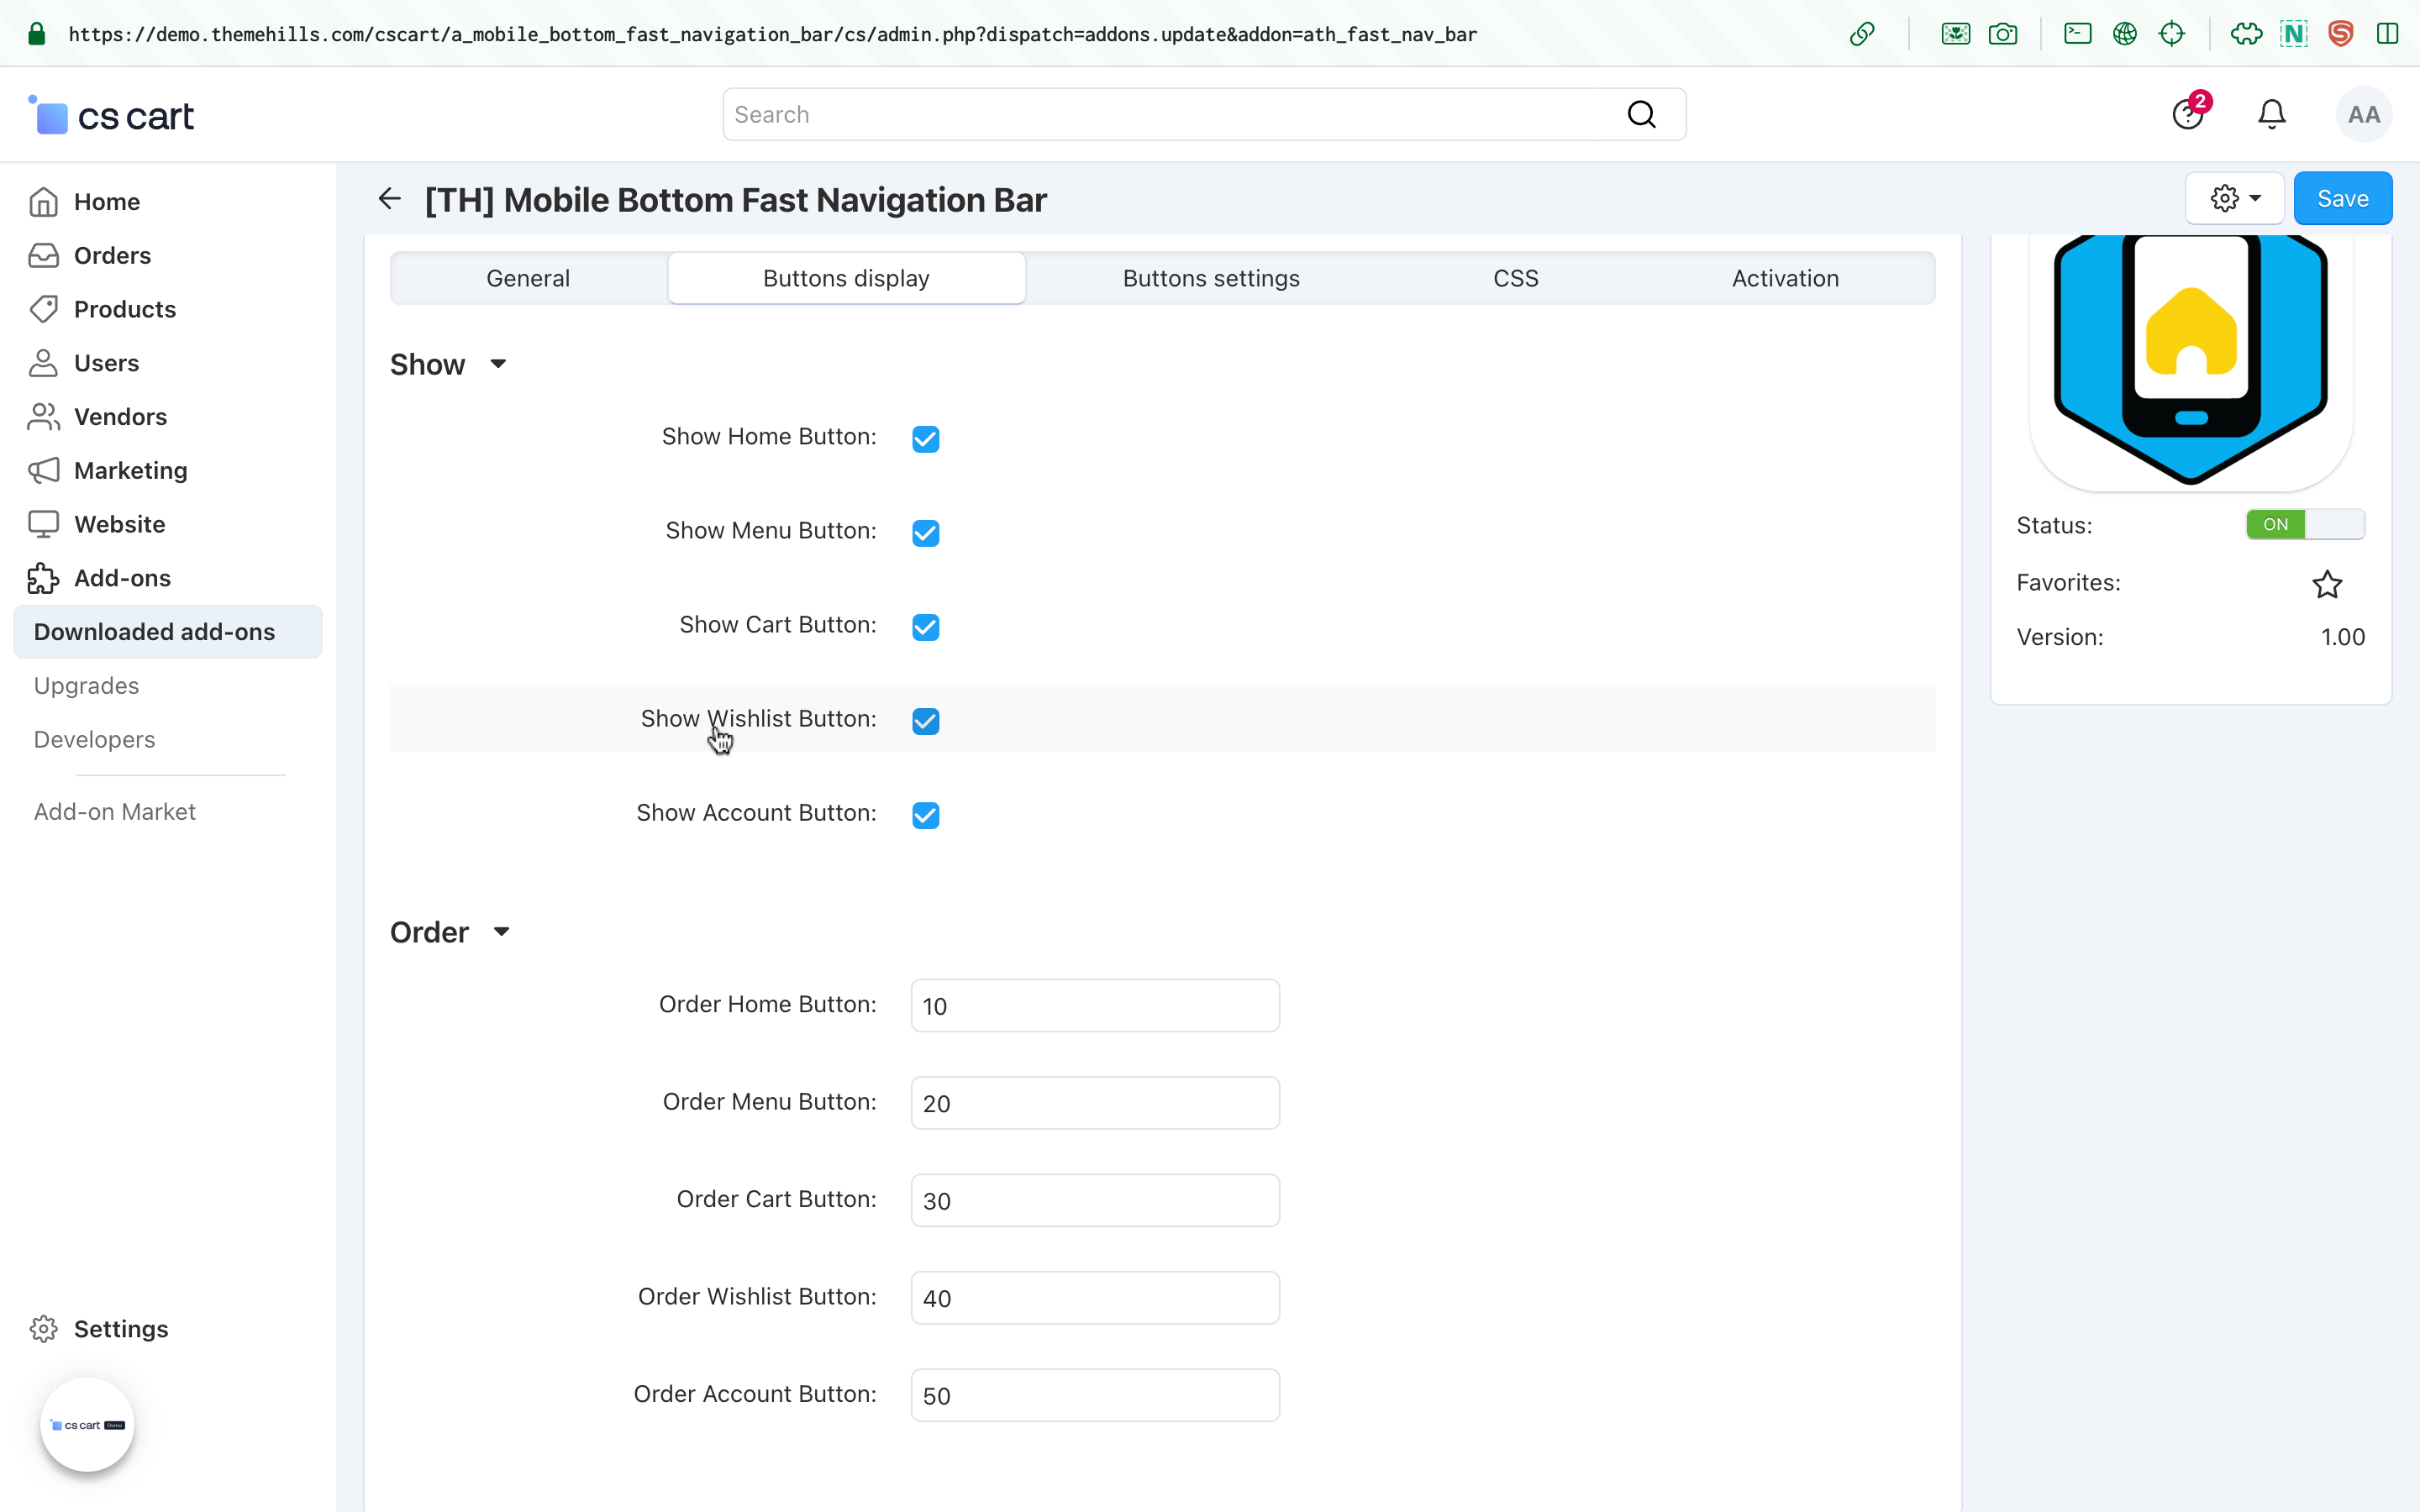
- Show Buttons: Enable or disable specific buttons
- Order: Set the display order of buttons using numerical values.
Buttons Settings
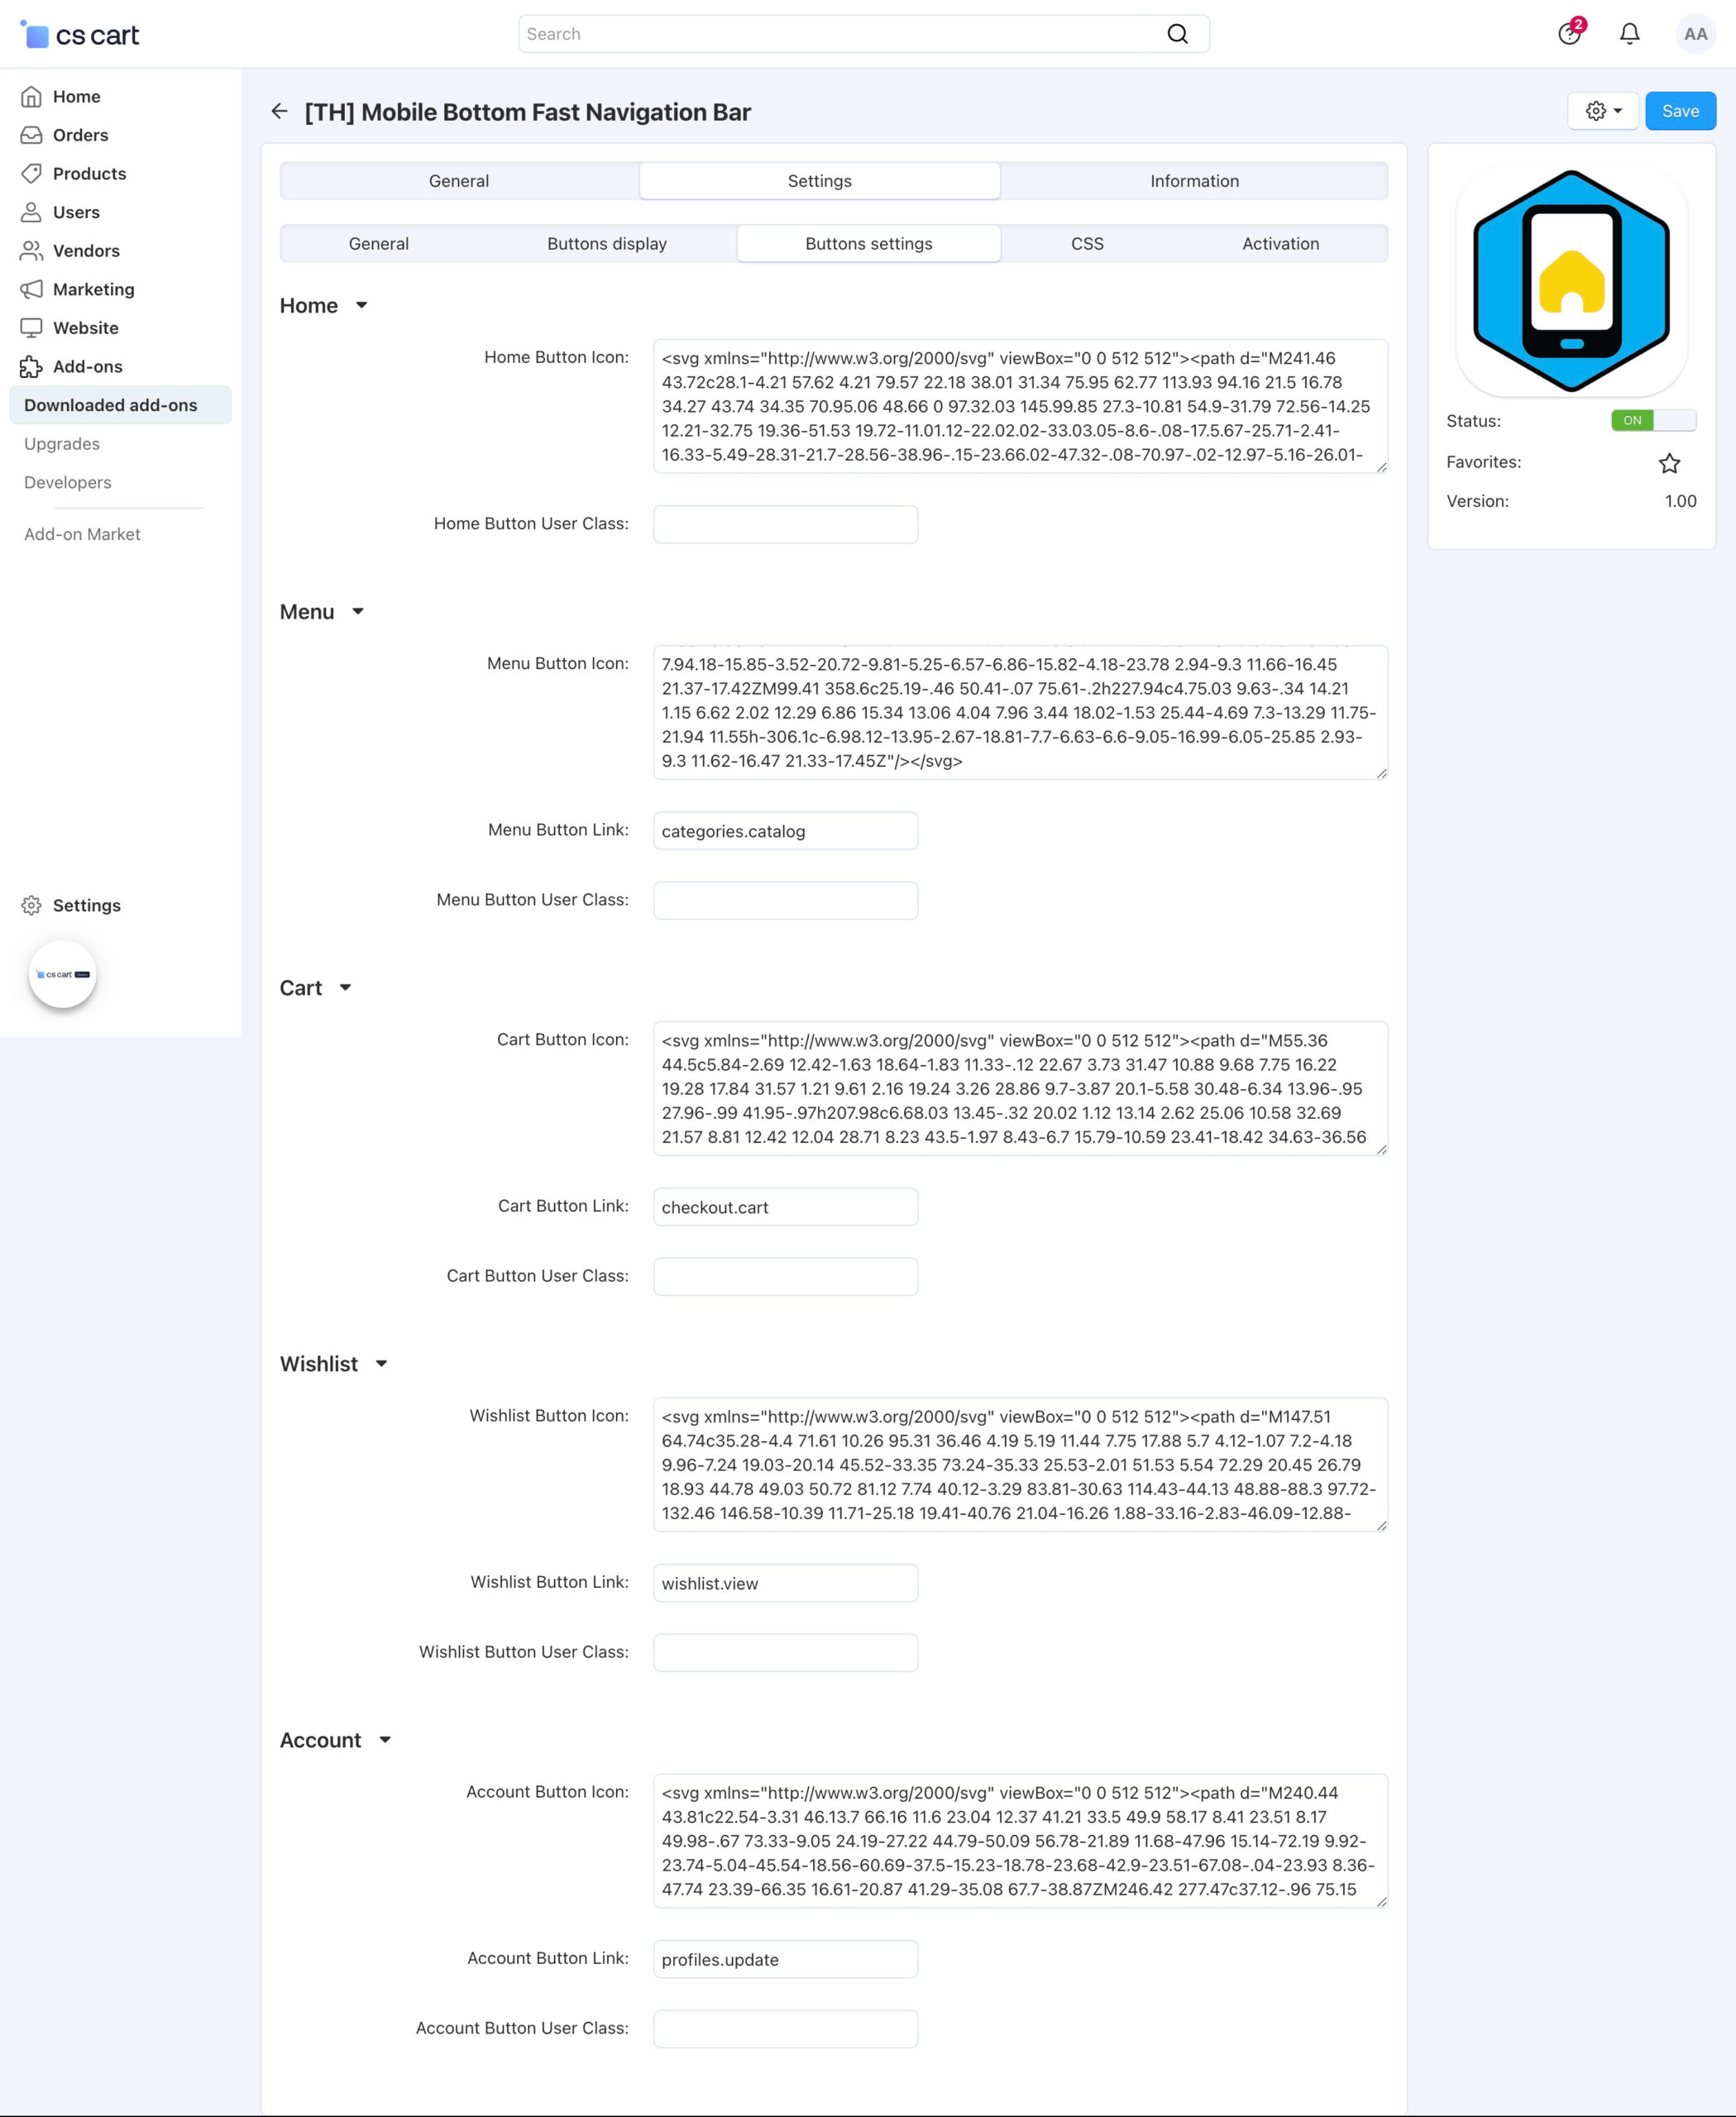
- Button Icons: Upload custom SVG icons for each button.
- Button Links: Specify the URLs for each button. For example:
- Cart:
checkout.cart - Account:
profiles.update
- Cart:
- Custom Classes: Add custom CSS classes to buttons for additional styling.
CSS Settings
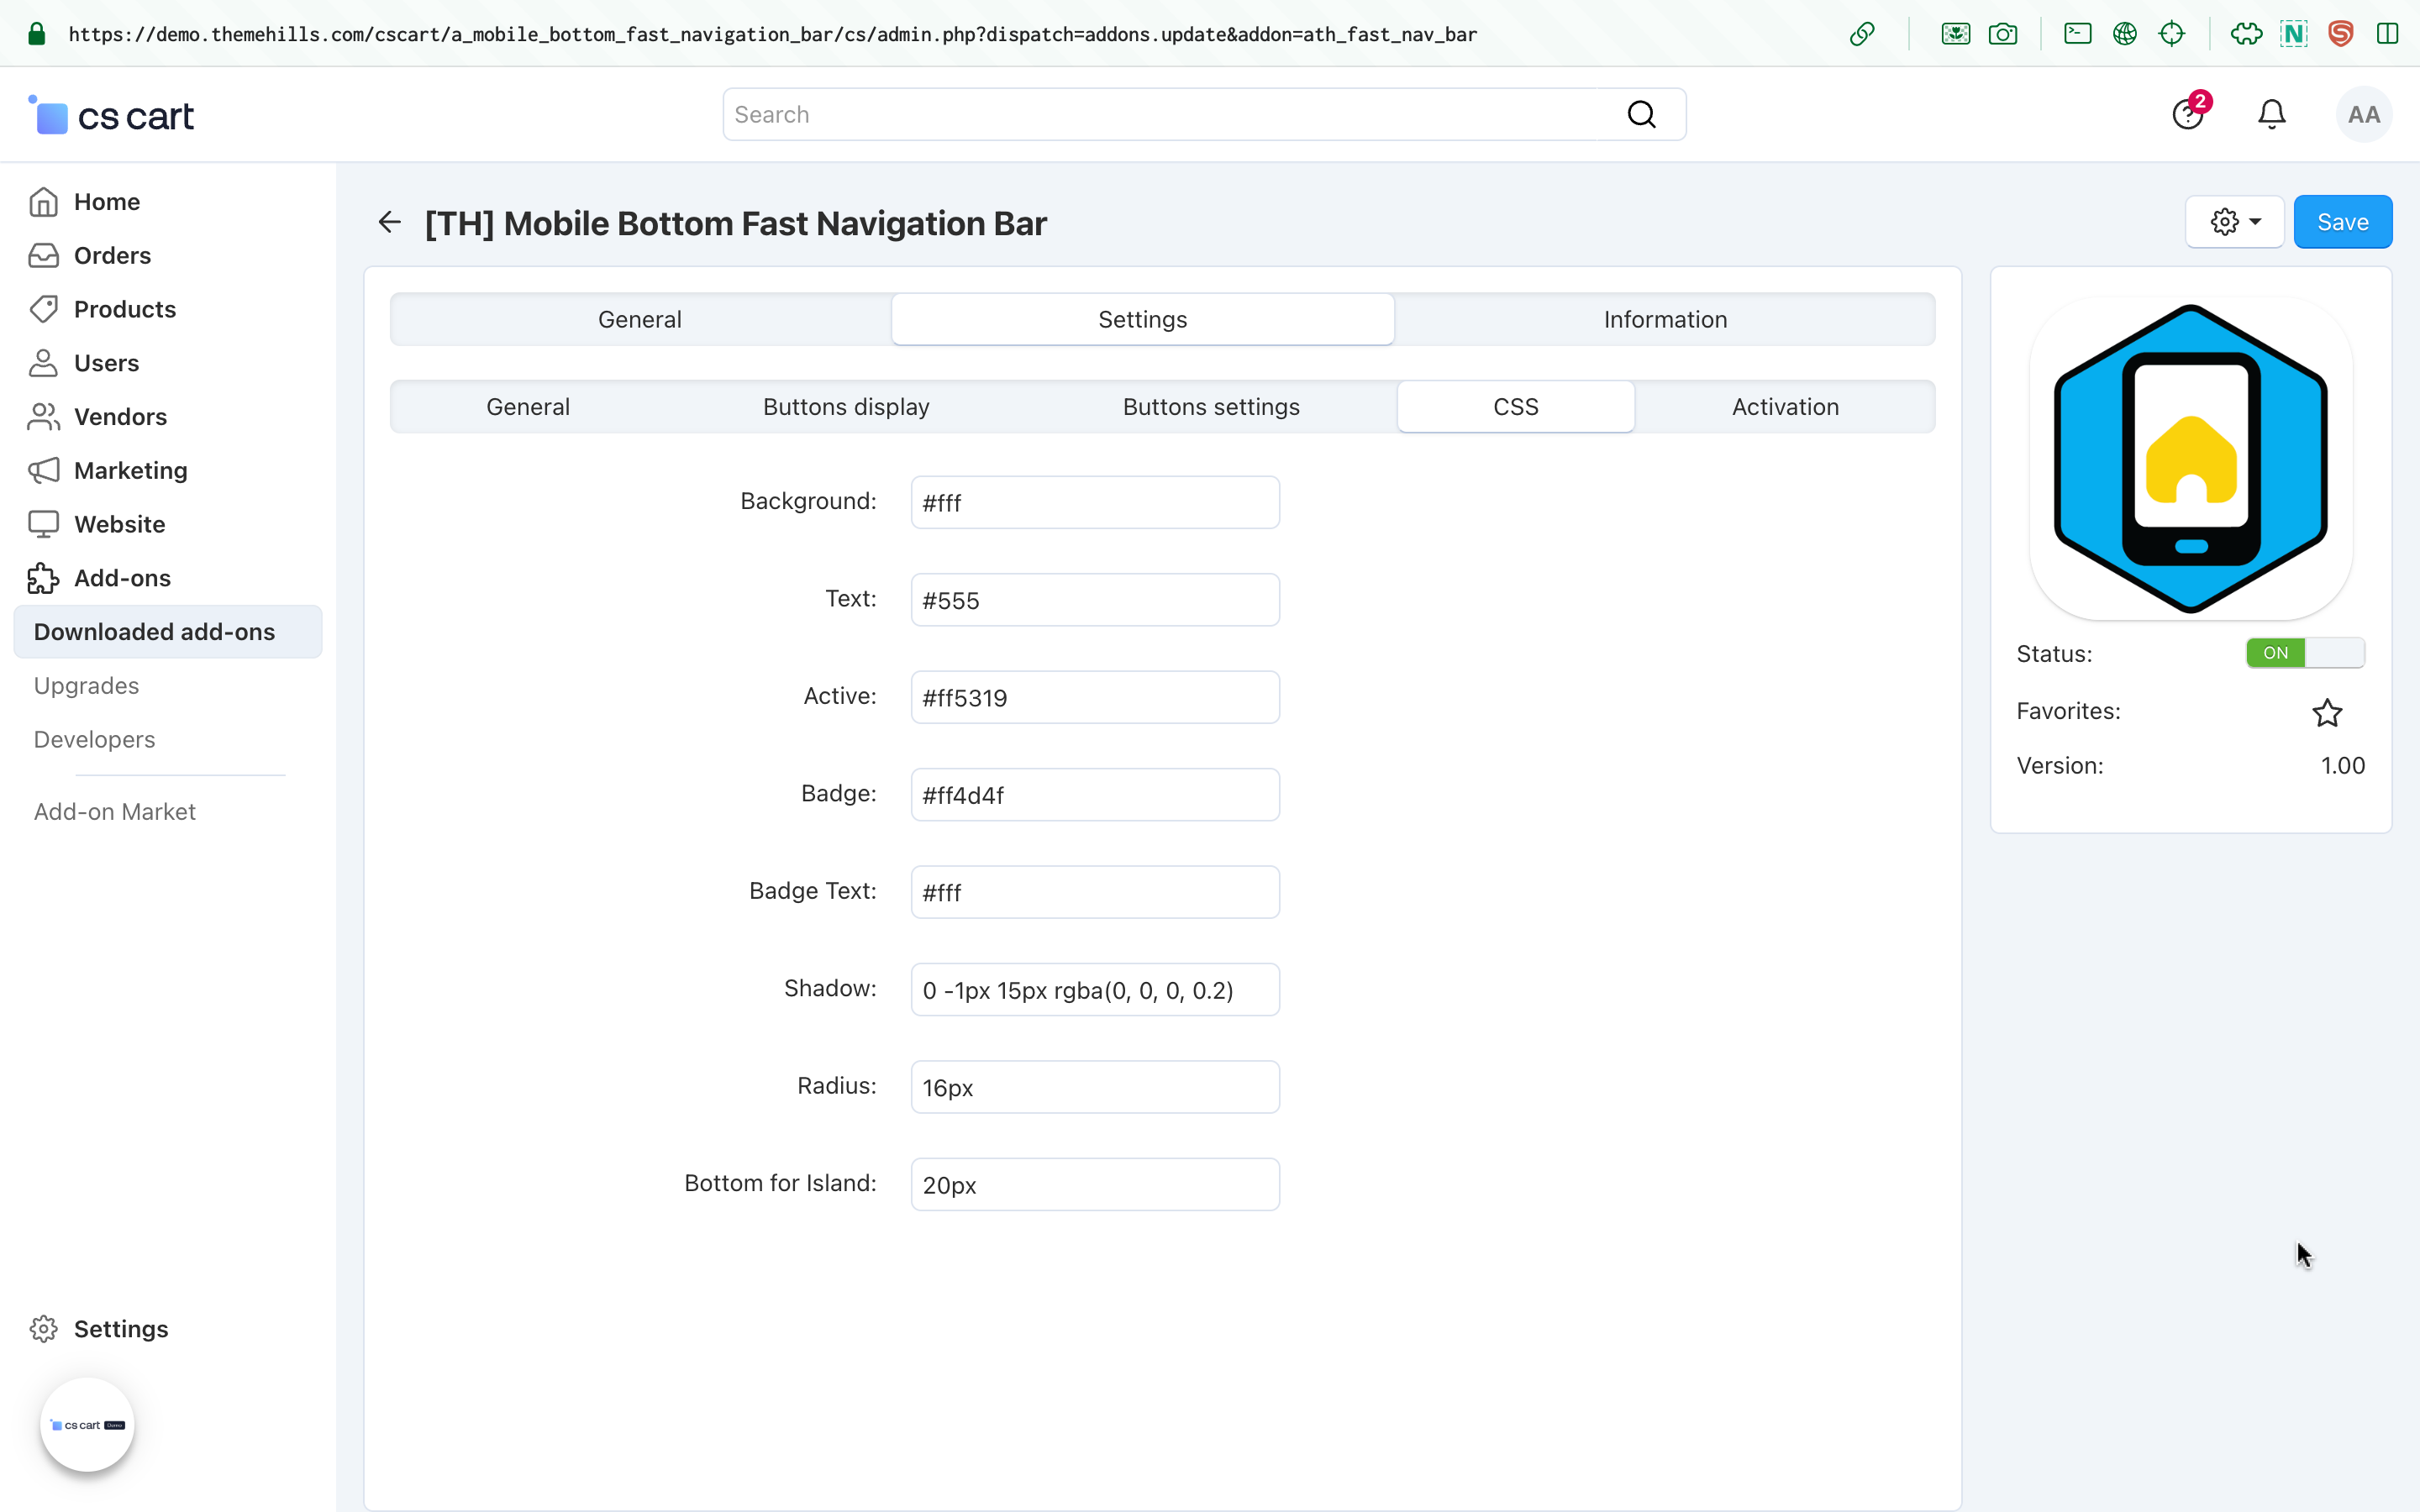
- Background: Set the background color of the navigation bar.
- Text: Define the text color of the buttons.
- Active: Set the color for the active button.
- Badge: Customize the background color of badges (e.g., cart item count).
- Badge Text: Set the text color of badges.
- Shadow: Adjust the shadow of the navigation bar for better visibility.
- Radius: Define the corner radius of the navigation bar.
- Bottom for Island: Set the bottom margin for the Island view.
Blocks
After installation, you need to add blocks to the layouts in footer section.
There are two options to choose from:
– A block with links
– A block with a menu and popups

Change styles
Style files add-on should not be changed, this can lead to incorrect work of the add-on. If there was a need to redefine or add styles, please use Theme editor for this
- Go to Design > Themes
- Press Visual Editor in front of the currently active layout
- In the new tab, you will see your shop with Theme editor panel
- In CUSTOMIZE selector choose Custom CSS
- In textarea you can add your styles
- After editing save your changes by pressing Save and press [X] to close editor
Add-on Update – top
To update the add-on, follow these steps
- make a full backup of the store
- close the store
- install the add-on over the old version without removing the previous one
- clear the cache
- if necessary, make changes that can be erased during the upgrade if you changed the add-on files directly
- check that everything is successfully updated
- open the store
To update language variables and add-on settings:
- Go to developer mode
- For this file local_conf.php add define(‘DEVELOPMENT’, true);
If you do not have a file, create one. - Clear the cache
- On the add-ons page in the drop-down list next to the add-on select “Update”
- Return to normal store mode
Changelog
1.02 (04 Aug 2025)
Added new buttons for custom links

1.01 (05 Dec 2024)
Cache bug fixed
Added market id

1.00 (29 Nov 2024)
Release