 Account Icon Customizer + Messages Notification Documentation
Installation – top
Uploading
- Download the add-on
- Go to Admin panel > Add-ons > Manage Add-ons
- Click on [+] to open the upload modal window
- Please choose one of the following options:
– Local: the zip archive is saved on your computer
– Server: the zip archive is uploaded to your server
– URL: you have a direct link to the zip archive - After you selected the zip archive corresponding to your current version of CS-Cart, click Upload & install
Activation
- Open the add-on settings page: Admin panel > Add-ons > Manage Add-ons > [TH] Account Icon Customizer
- In the Activation tab, insert the License key
- Save the settings and return to the Manage Add-ons page
- In the same line with the name of the add-on, click Activate
- Clear cache: go to Administration > Storage > Clear cache
Make sure that the add-on status is Active
That’s all, the add-on is installed
Settings – top
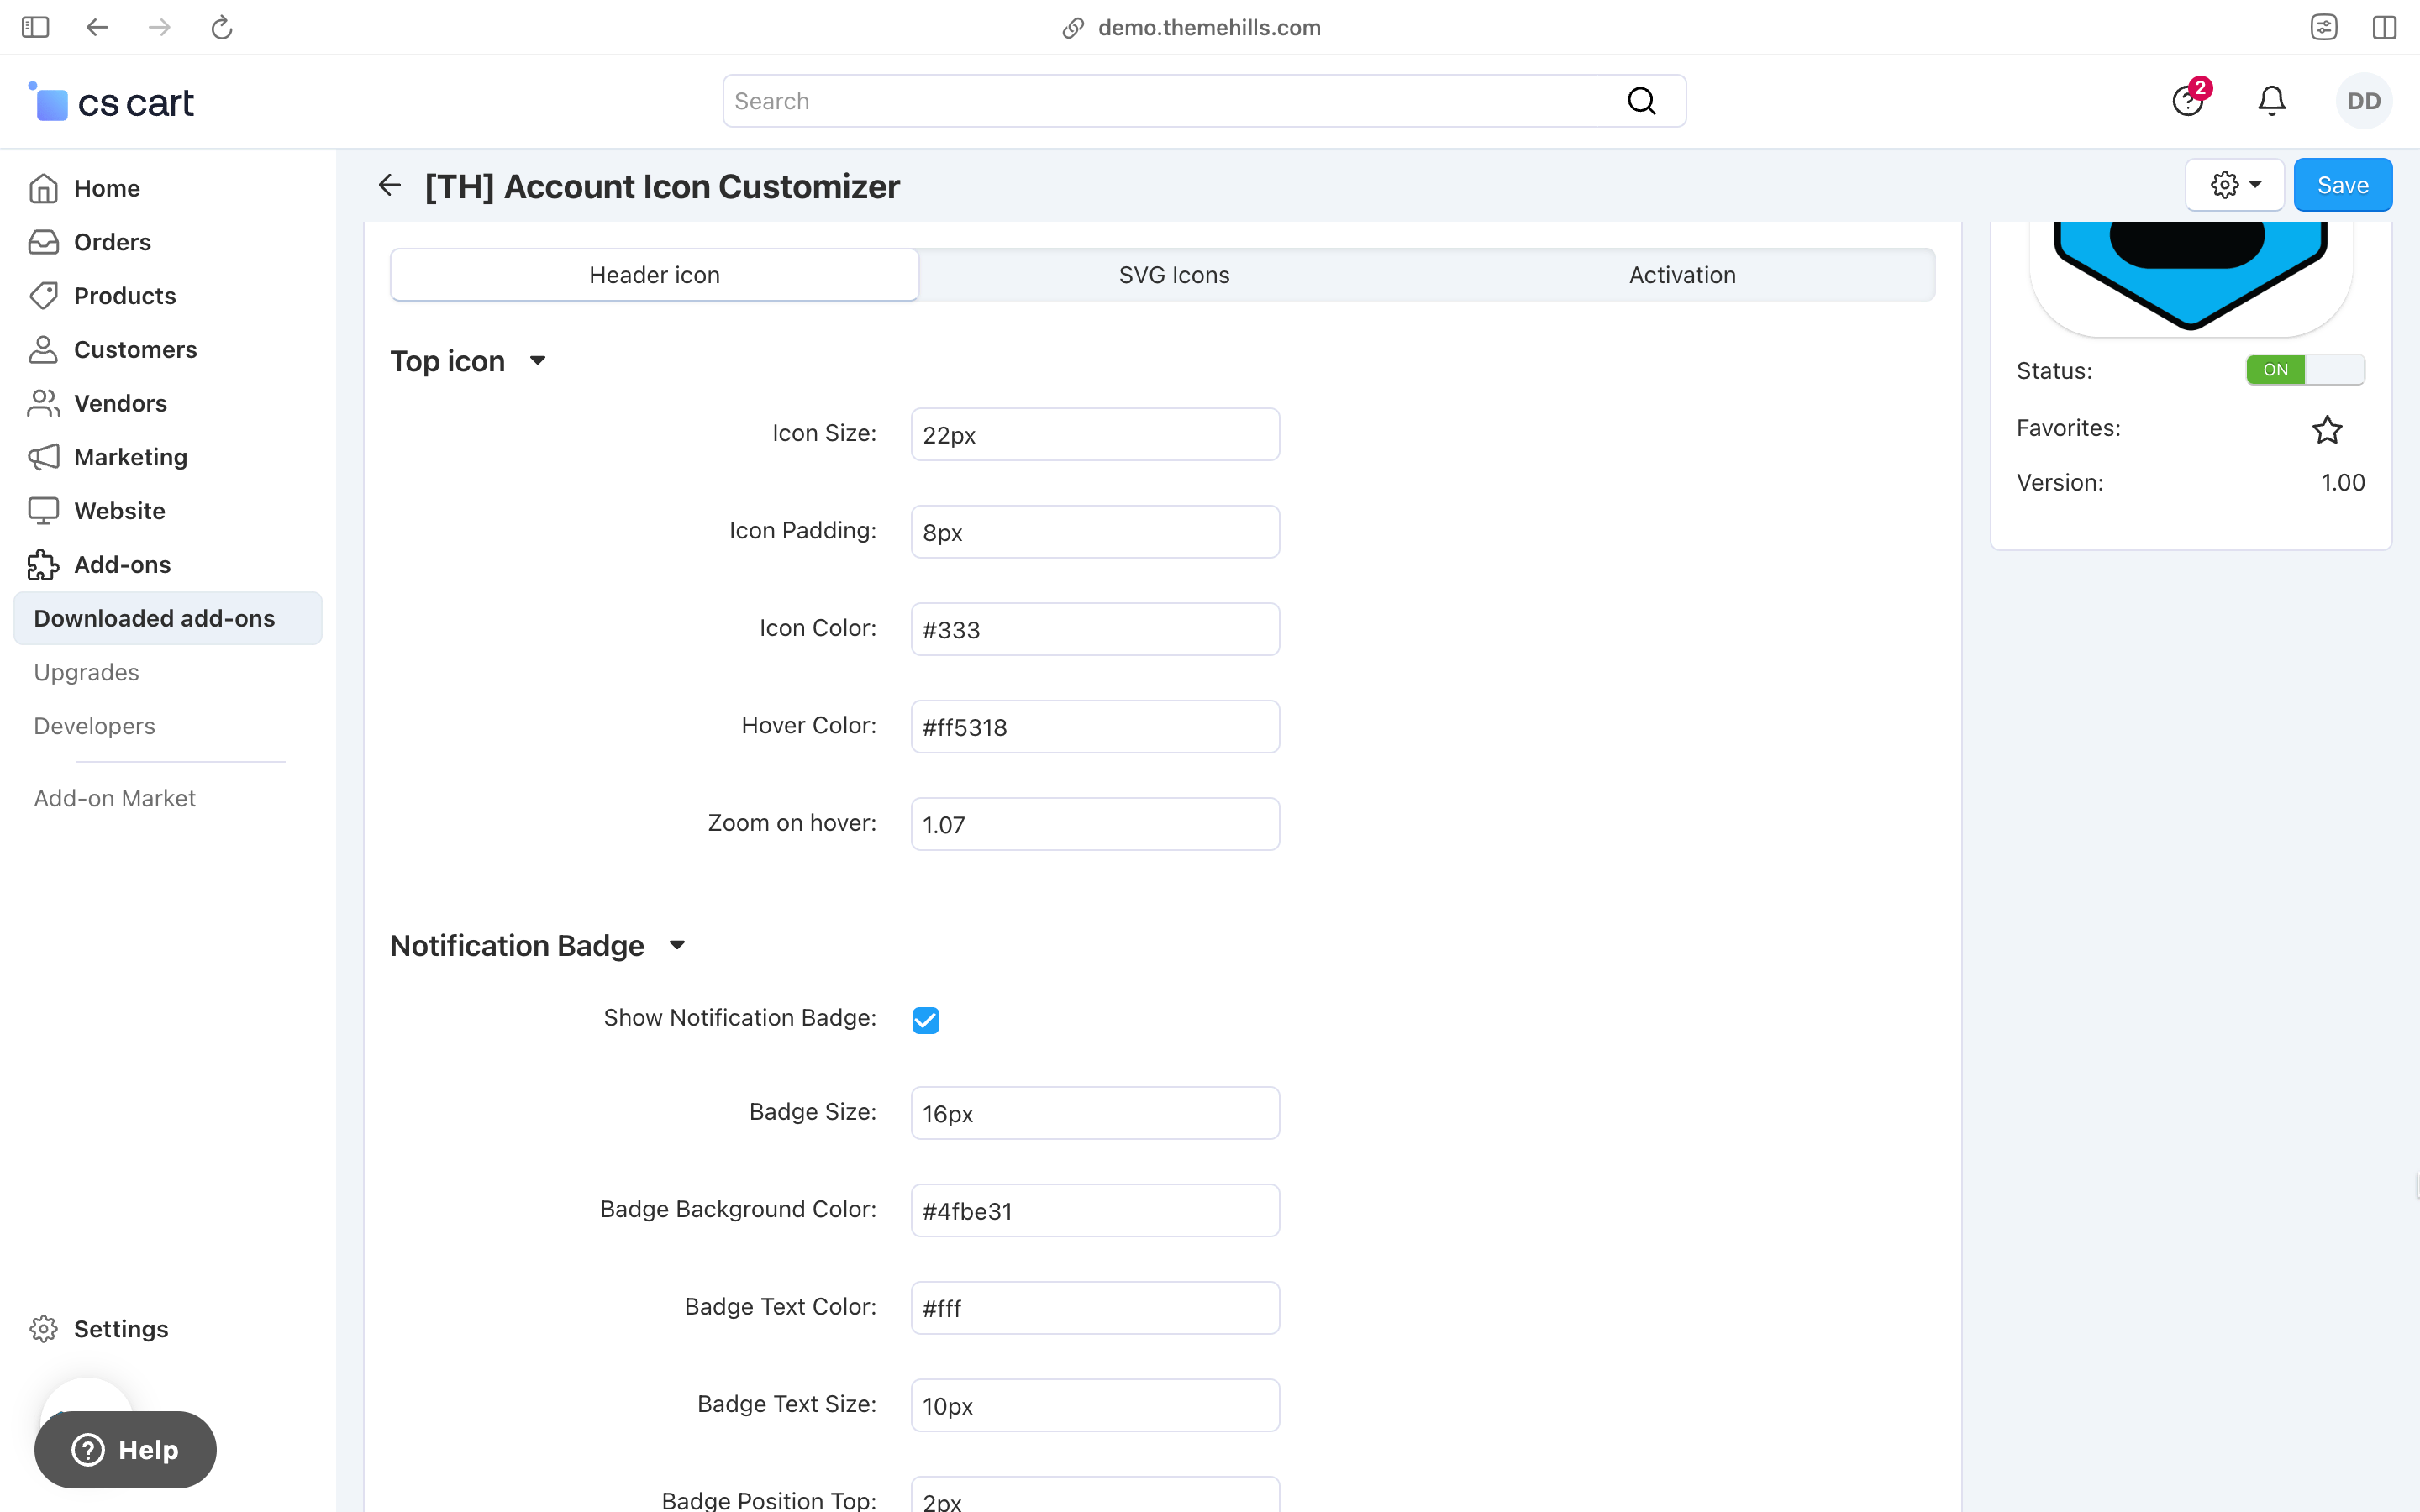
You can change SVG icons and other settings.

SVG Icons – top
You can change the icons to any SVG format of your choice. Simply paste the SVG code in the respective fields.
![]()
Block – top
To show the block, you need to create a new block in the layouts. Add a block named **Account** and select one of the new templates. There is no need to add a wrapper for this block.
Change styles
Style files of the add-on should not be changed, as this may cause the add-on to function incorrectly. If you need to redefine or add styles, please use the Theme Editor for this.
- Go to Design > Themes
- Click Visual Editor in front of the currently active layout
- In the new tab, you will see your shop with the Theme Editor panel
- In the CUSTOMIZE selector, choose Custom CSS
- In the textarea, you can add your styles
- After editing, save your changes by pressing Save and click [X] to close the editor
Add-on Update – top
The update can be done through the Update Center.
Changelog
1.00 (12 Feb 2025)
Release
