 Mega Wishlist Documentation
Installation – top
Uploading
- Download the add-on
- Go to Admin panel > Add-ons > Manage Add-ons
- Click on [+] to open upload modal window
- Please choose whatever is comfortable to you:
– Local: zip archive is saved on your computer
– Server: zip archive is uploaded on your server
– URL: you have a direct link to the zip archive - After you selected the zip archive corresponding to your current version of CS-Cart please click Upload & install
Activation
- Open add-on settings page Admin panel > Add-ons > Manage Add-ons >
[TH] Mega Wishlist - In Activation tab insert License key
- Save the settings and go back to Manage Add-ons page
- In same line with the name of the add-on, click Active
- Clear cache, choose Administration > Storage > Clear cache
Make sure that the add-on status is Active
That’s all, the add-on is installed
Settings – top

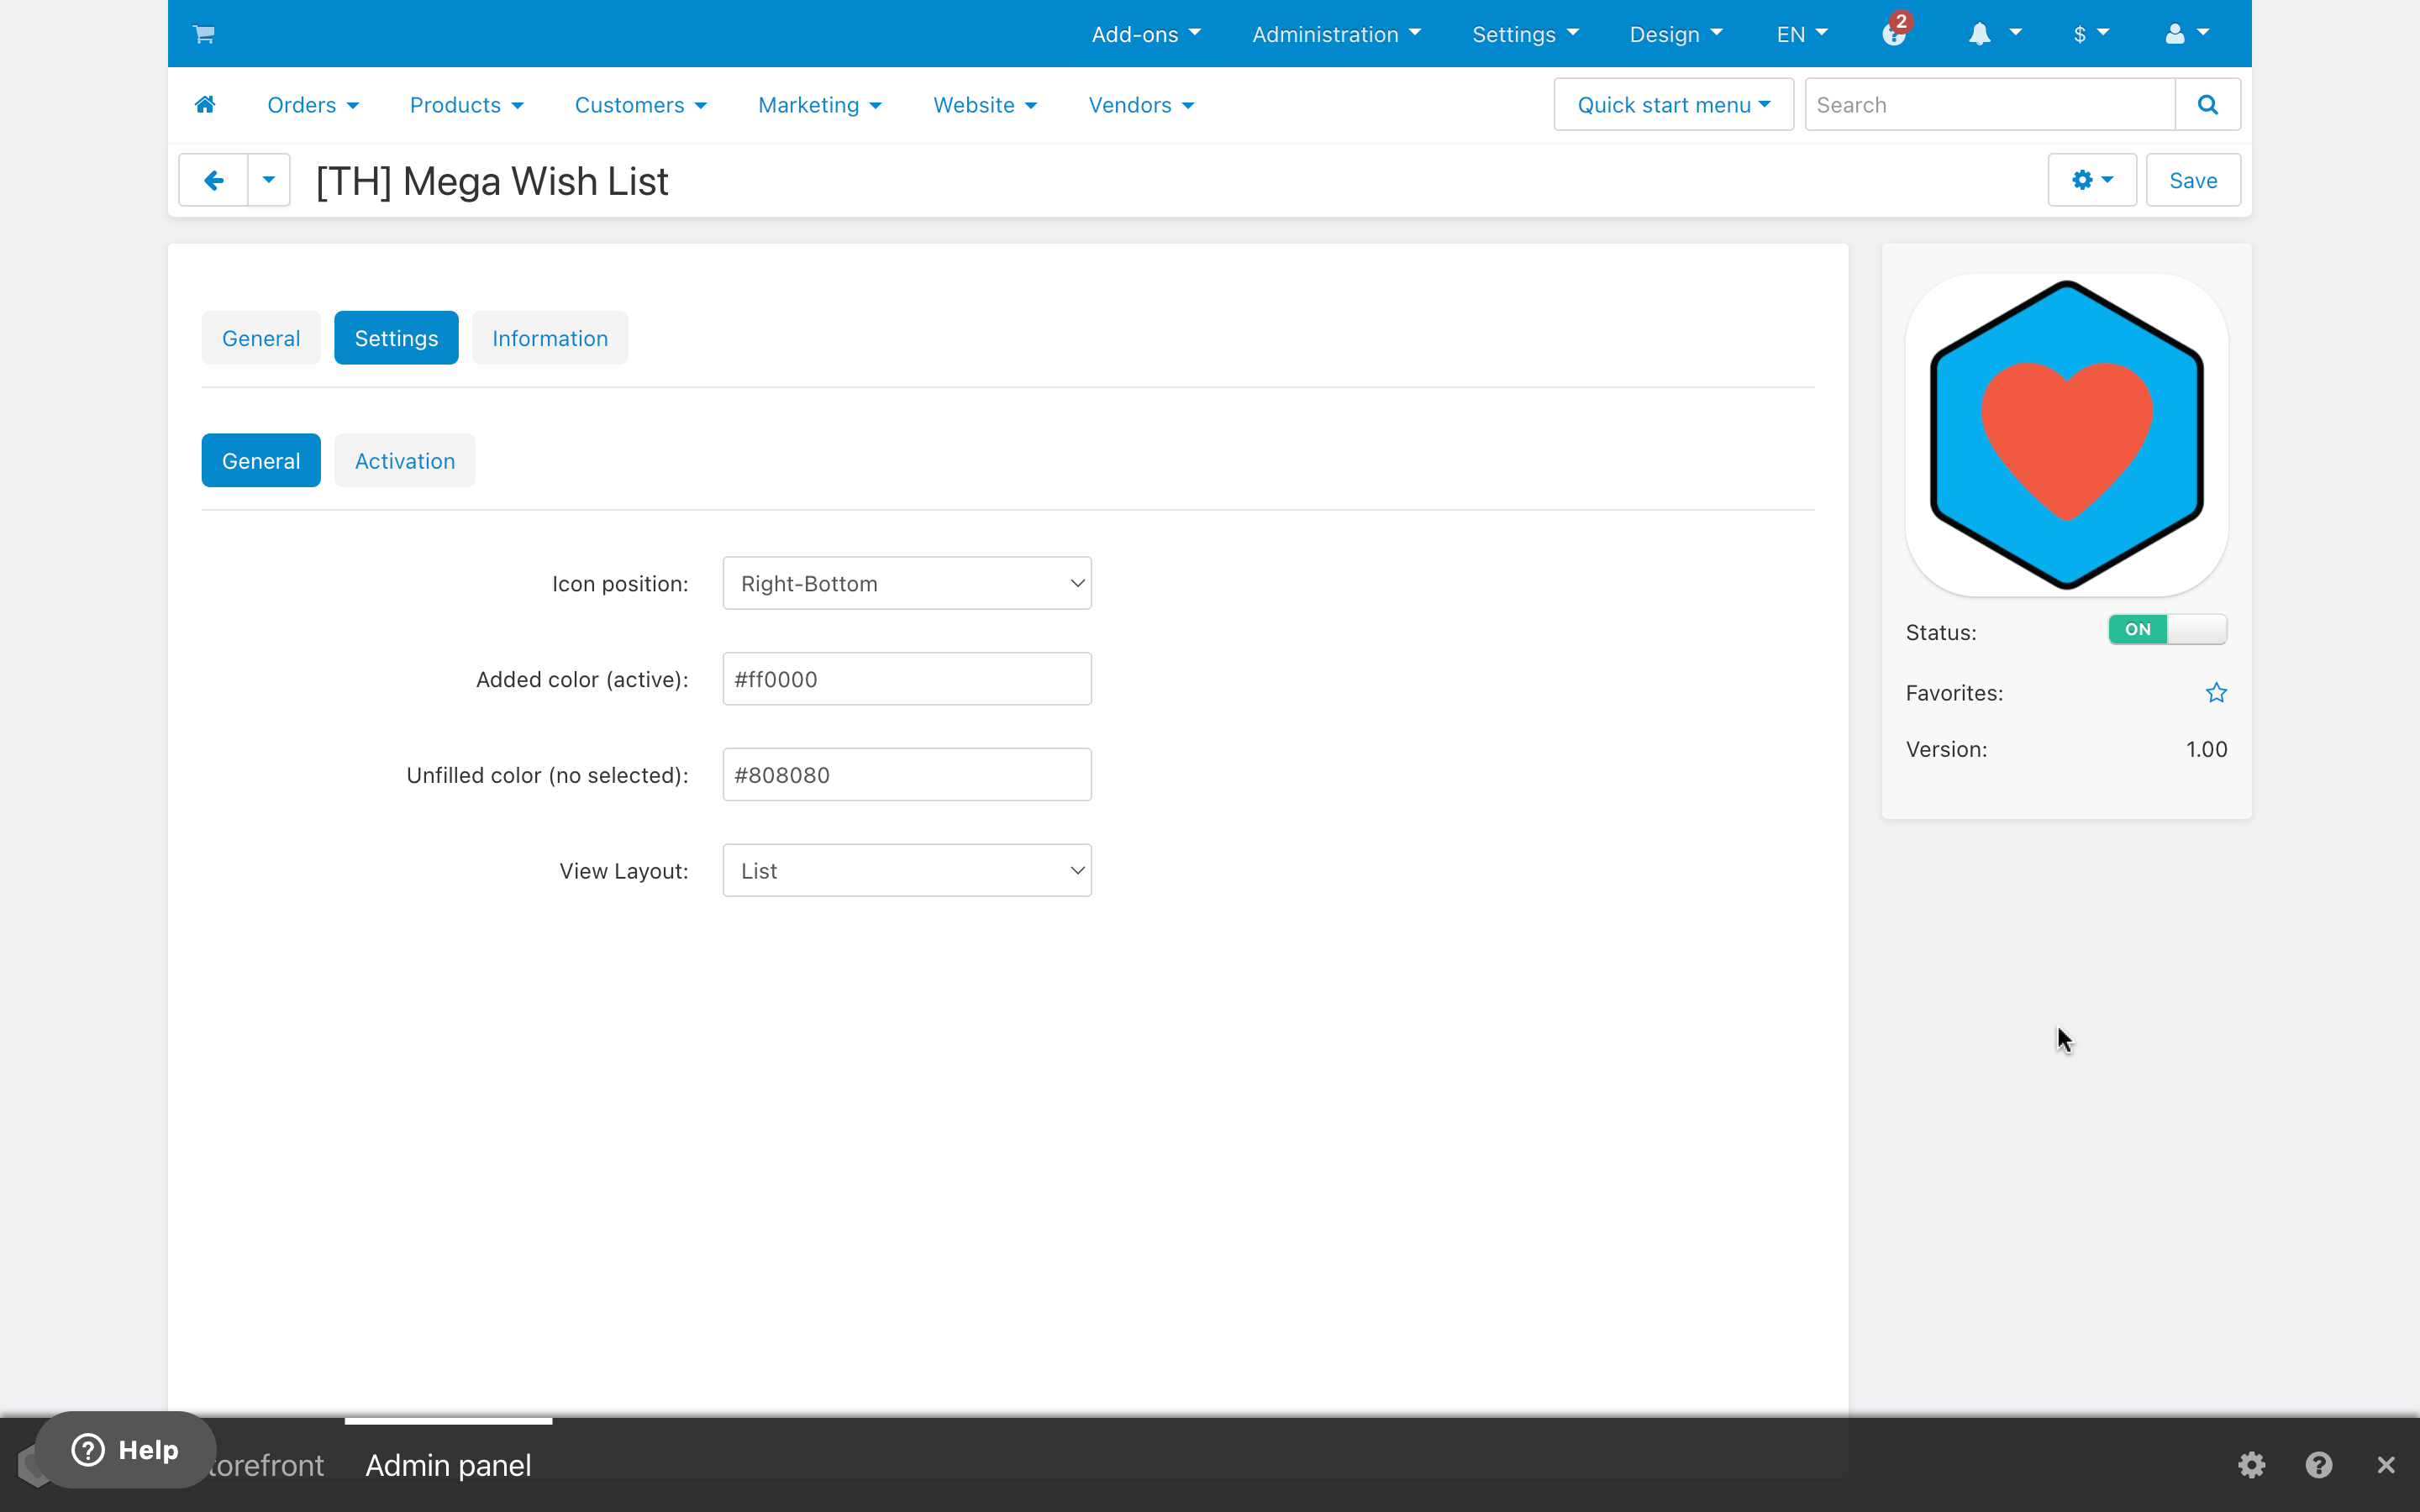
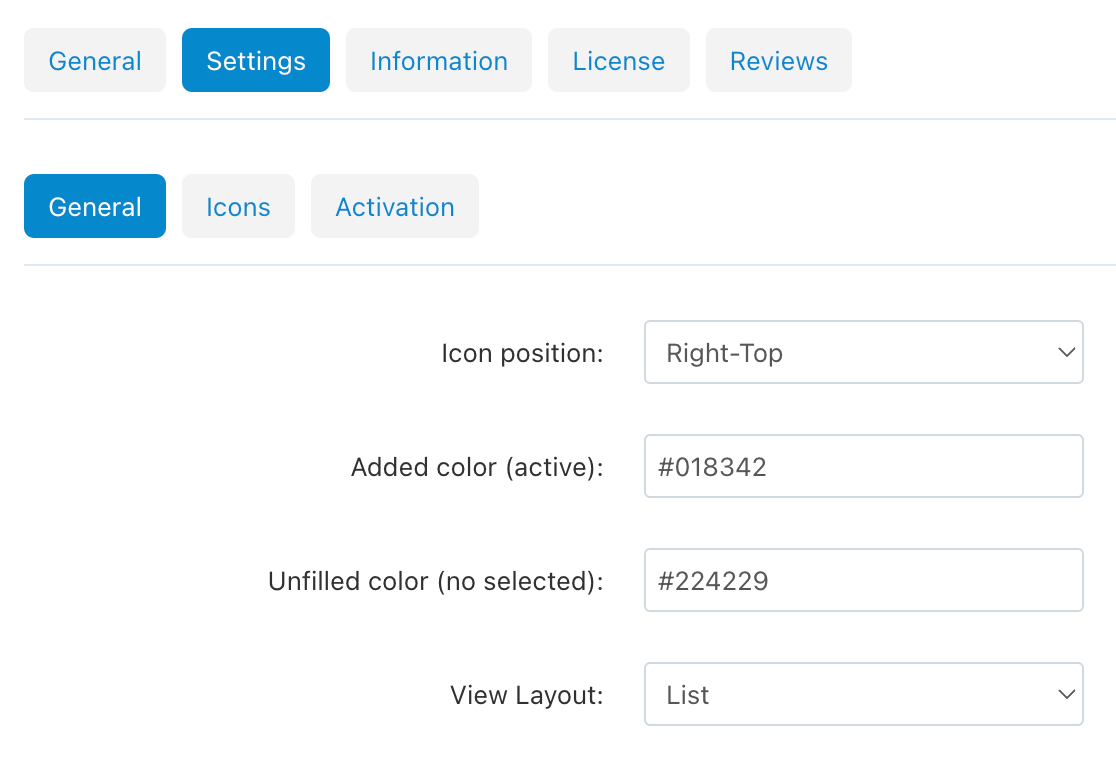
You can select the position of the button relative to the product photo and set the colors
You can also choose the type of page with a list of pending items
Block – top
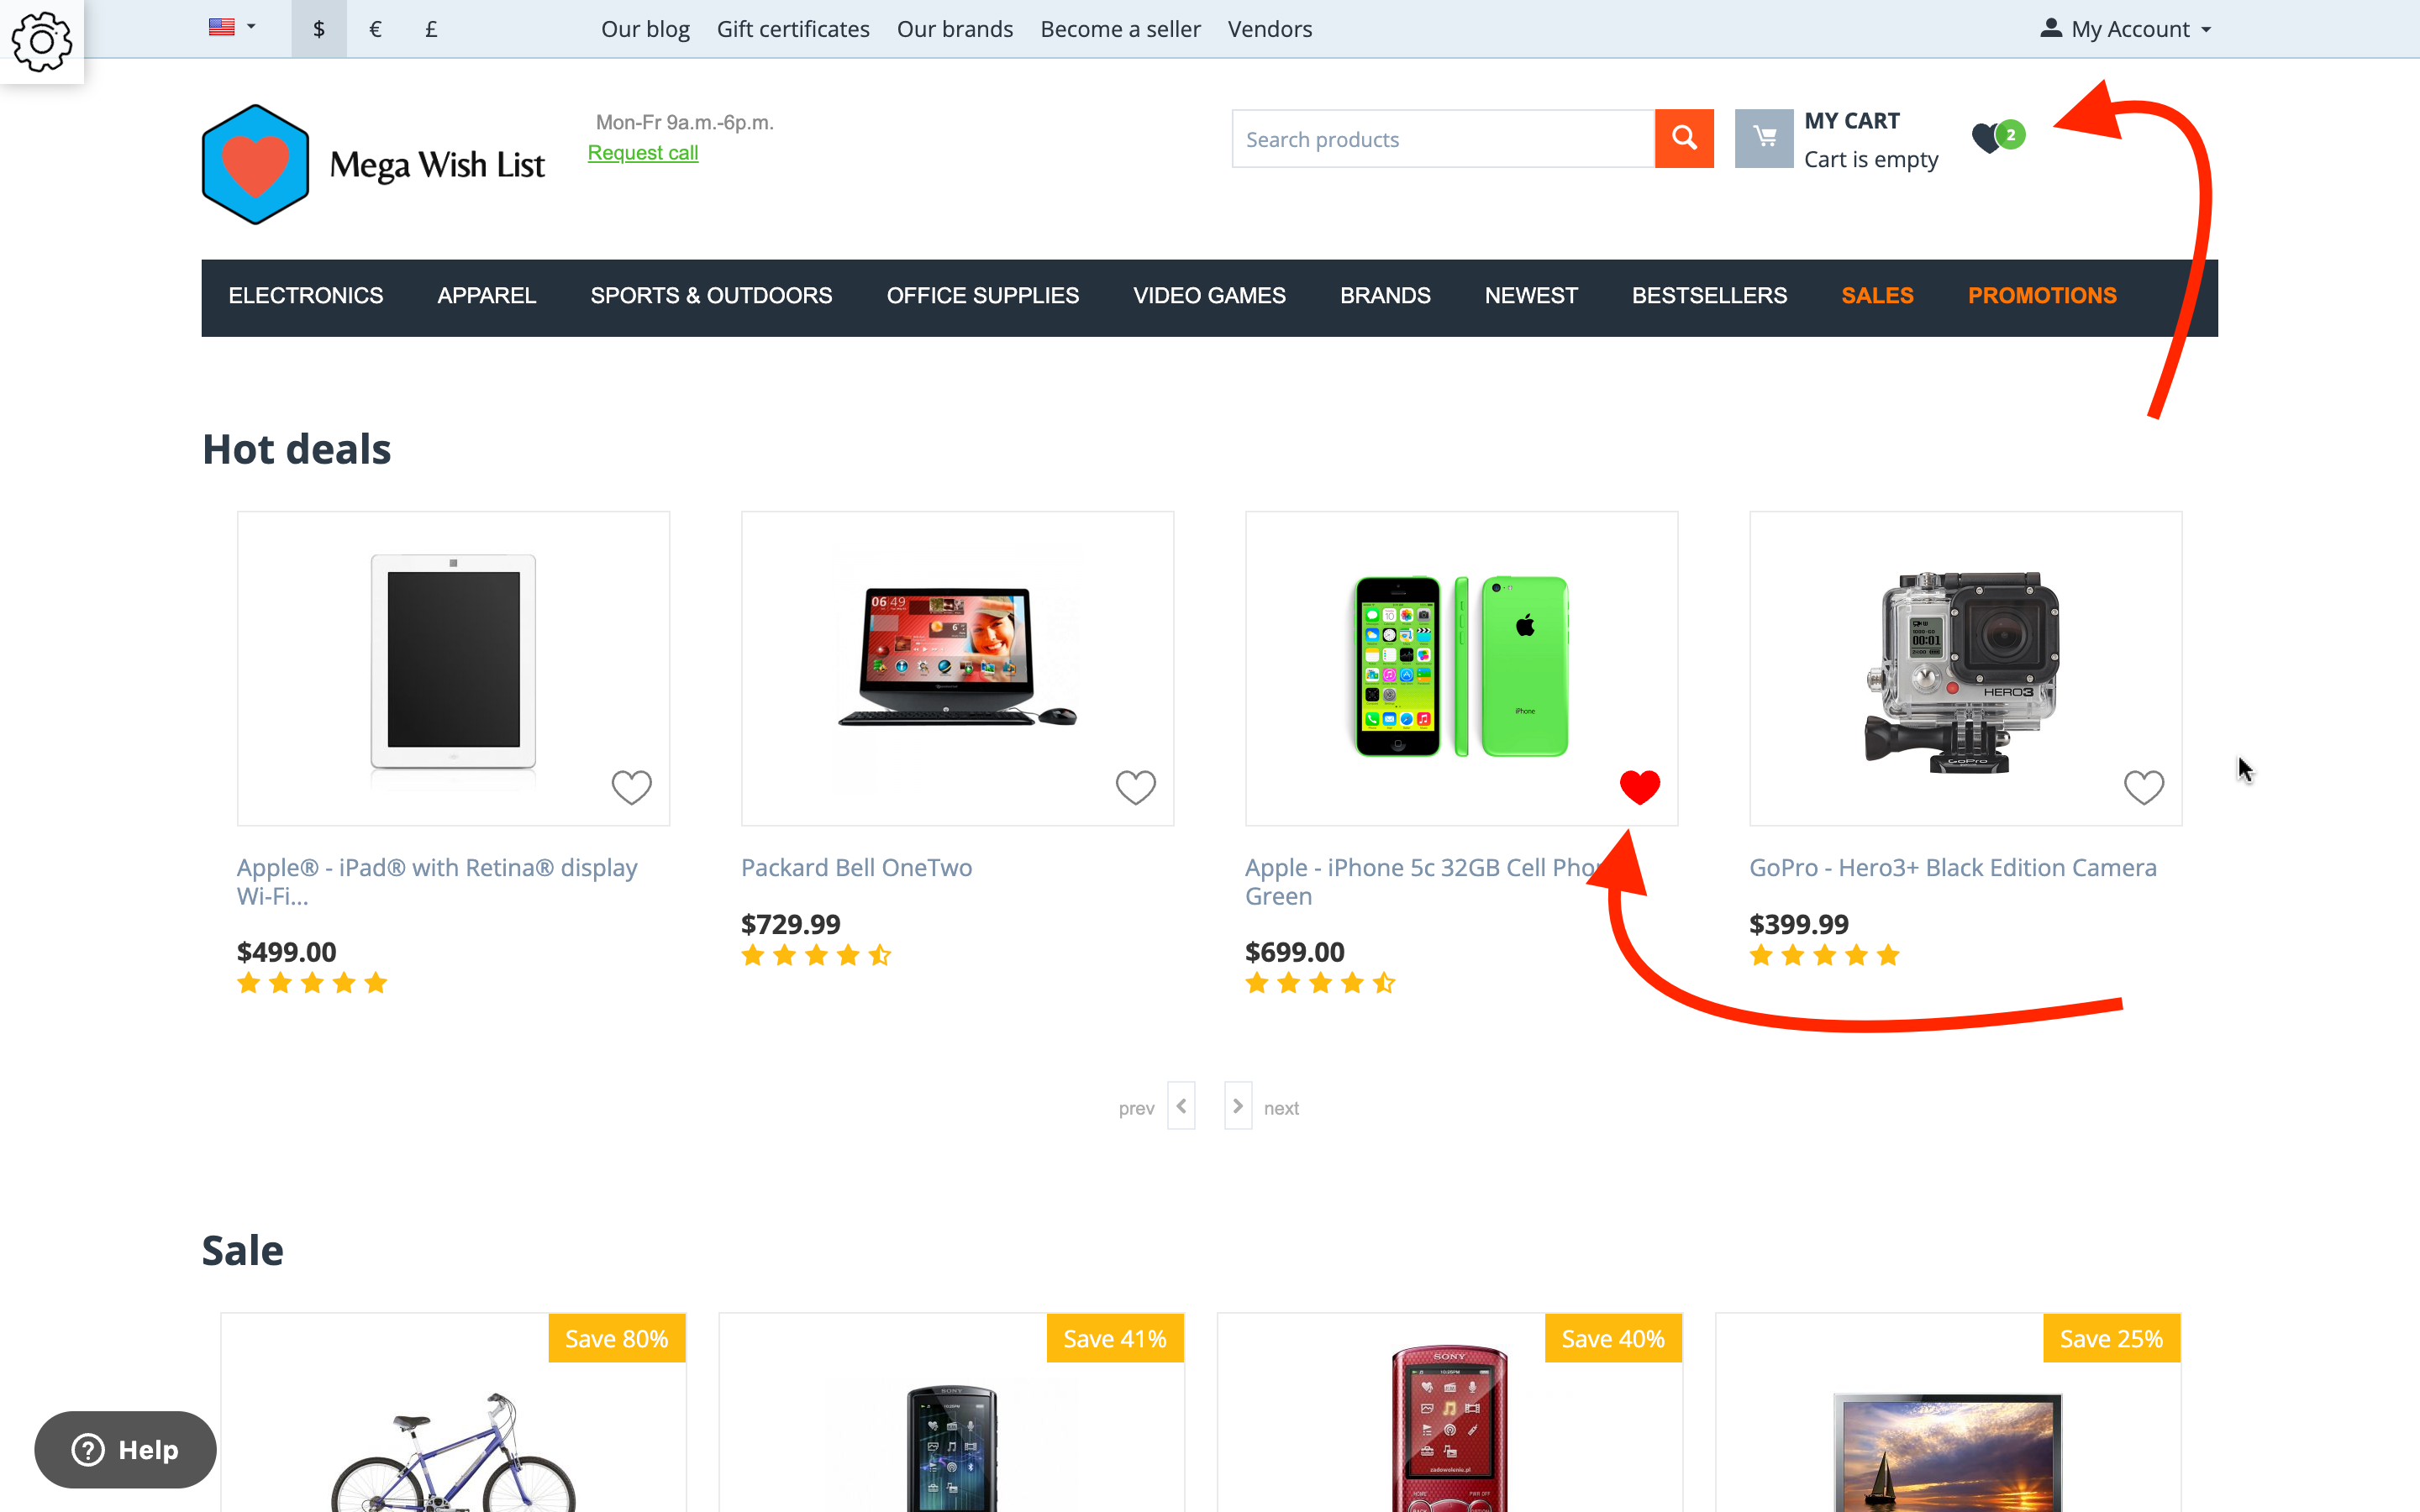
To quickly navigate to the wishlist and display it quantity, you can add a new block in the layouts
[TH] Wishlist Icon

It is best to place it in the header of the site
Change icons
The add-on uses SVG symbol
You can read more about this technology here
Just follow instructions and you will succeed
And in the moments when something went wrong, just clear the problem fields and then the standard add-on icons will return, and you can try again
If it doesn’t work out at all, write to support@themehills.com we are always ready to help
- You need to open SVG in a text editor, SVG should only contain outlines, if there is something else, then use a graphic editor to convert. The simpler the SVG, the better.
- Then you need to insert the
viewBoxandpathinto the appropriate fields. - The values
fillandstylesmust be deleted.
I believe you will succeed!
…this section is still in progress…
Change styles
Style files add-on should not be changed, this can lead to incorrect work of the add-on. If there was a need to redefine or add styles, please use Theme editor for this
- Go to Design > Themes
- Press Visual Editor in front of the currently active layout
- In the new tab, you will see your shop with Theme editor panel
- In CUSTOMIZE selector choose Custom CSS
- In textarea you can add your styles
- After editing save your changes by pressing Save and press [X] to close editor
Example: Syrup Theme – top
Add-on settings:

Heart viewBox (add to list icon): 0 0 512 512
Heart SVG path (add to list icon):
<path d="M478.3 76c-32.5-35.9-73-52.2-121.6-48.7-40.8 6.5-74.1 25.7-100.1 57.6-34-41.4-77.8-60.7-131.4-57.9-32 4.2-59.8 17.5-83.1 39.9-35.4 37.4-48.5 81.8-39.2 133 6.7 36.1 19.9 69.8 39.5 100.8 19.2 29.5 41.6 56.7 67.1 81.4C150.8 421.3 196 455 245 483.7c6.5 2 13.1 2.2 19.8.7 44.8-25.5 86.4-55.4 124.7-89.9 30.7-28 57.4-59.2 80-93.6 19.6-31 32.8-64.7 39.5-100.8 8.7-46.5-1.5-87.7-30.7-124.1zM458 191.7c-6.1 32.4-18.6 62.1-37.5 89.2-20.1 28.5-43.1 54.4-69.1 78-29.5 26.8-61.3 50.5-95.4 71.2-56-33.7-105.2-75.6-147.5-126-20.5-25-36.3-52.7-47.7-83.1-5.6-18-8.8-36.5-9.2-55.5 2.6-40 22.4-67.7 59.3-83.1 7.4-2.5 14.9-4.1 22.4-5.1 32.5-1.1 59.4 10.5 80.7 34.8 7.2 11.1 14.8 22 22.4 32.7 11.3 10.5 23.4 11.6 36.4 3.1 8.5-12.1 17.2-24 26.2-35.7 16.8-19 37.8-30.5 63-34.4 44.4-1.4 75.4 18.2 92.9 58.9 6.1 17.9 7 36.3 3.1 55z"/>
Heart Filled viewBox (add to list icon): 0 0 512 512
<path d="M473.1 80.2c-31.7-35.1-71.3-51-118.8-47.6-39.8 6.4-72.3 25.2-97.7 56.3-33.2-40.4-76-59.3-128.3-56.5-31.3 4.1-58.4 17.1-81.2 39C12.5 107.9-.3 151.2 8.8 201.2c6.5 35.3 19.4 68.2 38.6 98.4 18.8 28.8 40.6 55.4 65.5 79.5 40.3 38.3 84.5 71.2 132.3 99.2 6.3 2 12.8 2.1 19.3.7 43.8-24.9 84.4-54.1 121.8-87.8 30-27.3 56.1-57.8 78.1-91.4 19.1-30.3 32-63.2 38.6-98.4 8.6-45.4-1.4-85.6-29.9-121.2z"/>
Add-on Update – top
The update through the Update Center
Changelog
1.01 (09 Mar 2024)
Added ability to change icons
Fixed bug in Safari

1.00 (04 Mar 2024)
Release
